So, you want to hike Picacho Peak? If you’re like me, you have probably driven past Picacho Peak State Park several times, and thought about hiking to the top “someday.” Well congrats on finally turning “someday” to now!
To be honest, I didn’t hike Picacho Peak until after I had graduated from college and was preparing to move to the East Coast. Since moving back to Tucson, I have gone up and down Hunter Trail with people of various fitness levels.
While the hike is frequently labeled as difficult, it is still doable. Hunter Trail appeals to me because it’s short, challenging and fun!
Personally, I am more of an occasional hiker but I felt that my experience could help someone prepare for their first adventure to the top of the 3374-foot summit.
In this post, I breakdown some of my tips and best practices. I would like to add that there are a few different trails at Picacho Peak State Park, but I will only focus on Hunter Trail because that is the only trail I have hiked.
Hunter Trail
I recommend beating the heat and arriving right before sunrise. The state park opens at 5:00am and the trails open at sunrise. The first leg of the hike will include sun, but once you’re on the other side, you get to stay in the shade.
Hunter Trail is roughly 4 miles round trip, and in this immediate section I will highlight the different parts of the trail. I feel something can be less intimidating and easier to conquer if you can mentally prepare yourself in advance.
Now, let’s begin our hike!
The Base
The base is a great intro to the rocky climbing that you will soon encounter on the other side of the base. At sunrise, you will witness a beautiful sight of the sun slowly rising above the horizon. As you get closer to the saddle, you will start to notice a few steel cables along the trail, but you don’t necessarily need them. Continue to follow the signs and painted rocks, and you will eventually reach the saddle!


The Saddle
At the saddle, there’s a historical plaque where you can learn about the 1862 Battle of Picacho Pass– the largest Civil War battle in Arizona territory. At this same spot is where you can see the descent on the backside of the base.
If you have severe knee pain or don’t have strong stability in your ankles, then this may be your turning point. But for everyone else who may want to turn around, collect your courage and slowly work your way down. If you’re nervous about your speed and other hikers, then this may be another good reason to start earlier in the day.

The Descent
The descent is a different type of slippery, rocky slope than what’s experienced in the beginning. Pay attention to your footing since the ground is quite uneven. For extra balance, you can grip the cables for this first round.


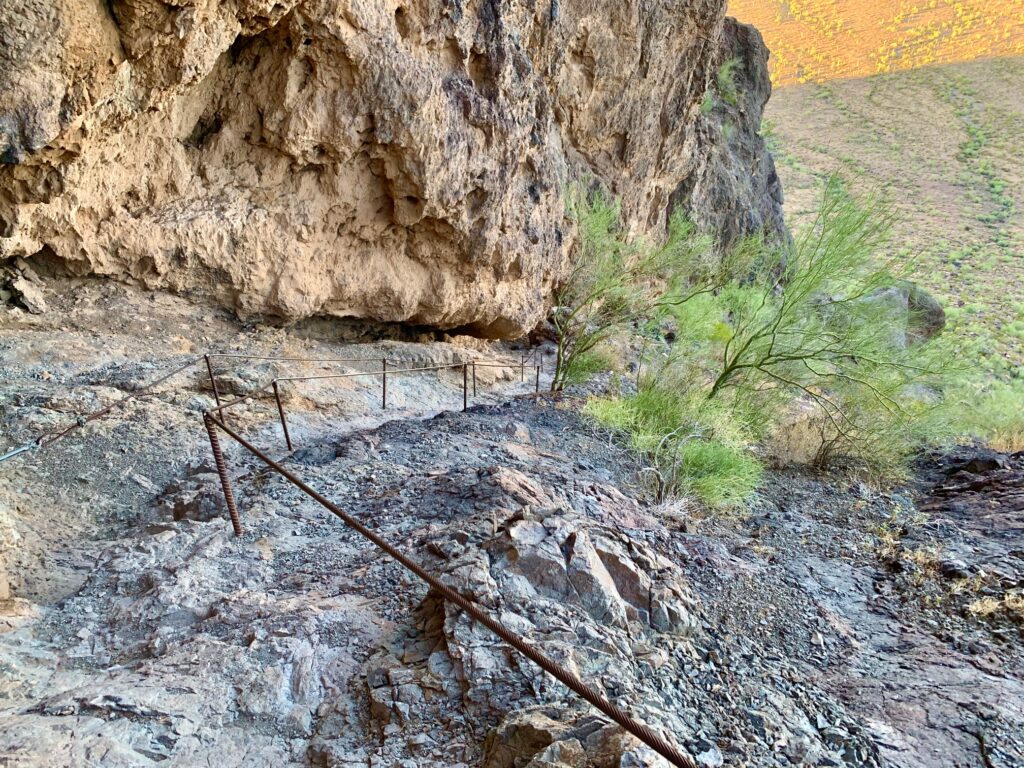
Where Hunter and Sunset Trails Meet
At this point your ascent begins with the cables. If you weren’t using the cables’ assistance previously, then I would absolutely use them now. If you need to take a break, there’s plenty of space to step to the side for water.


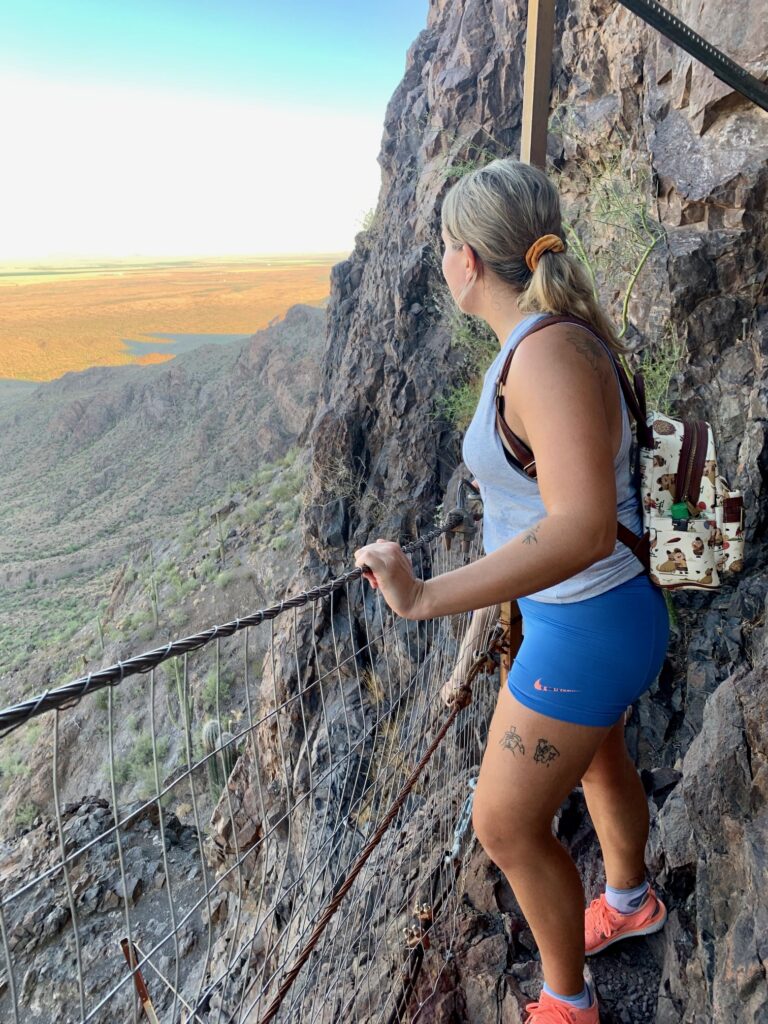
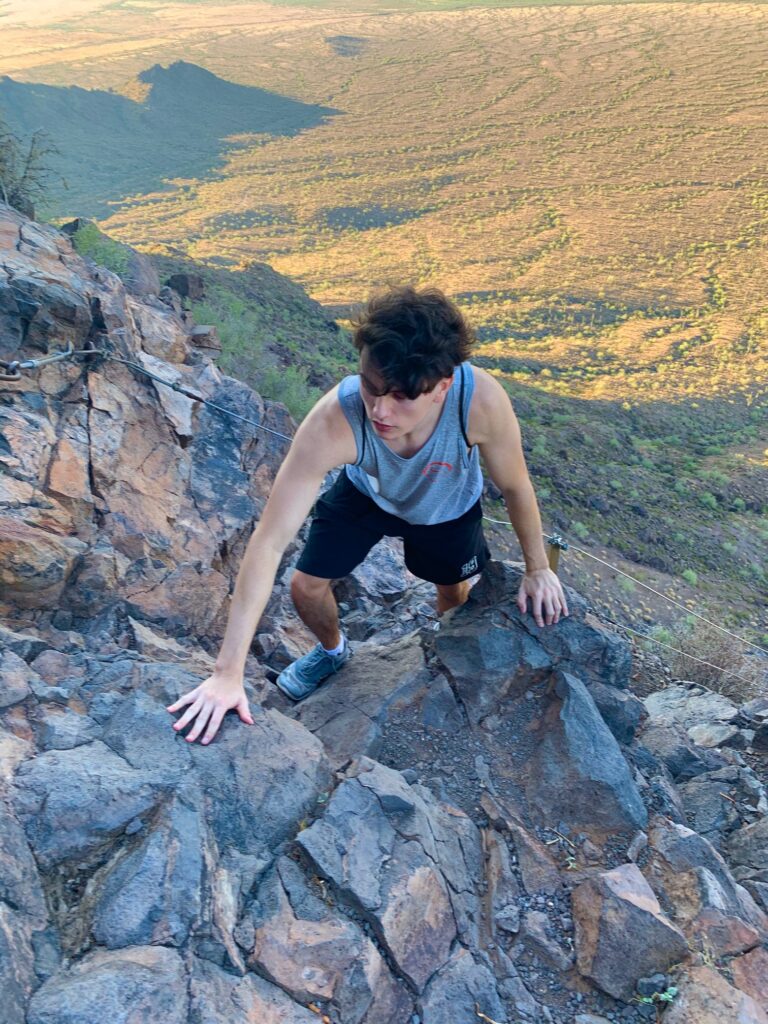
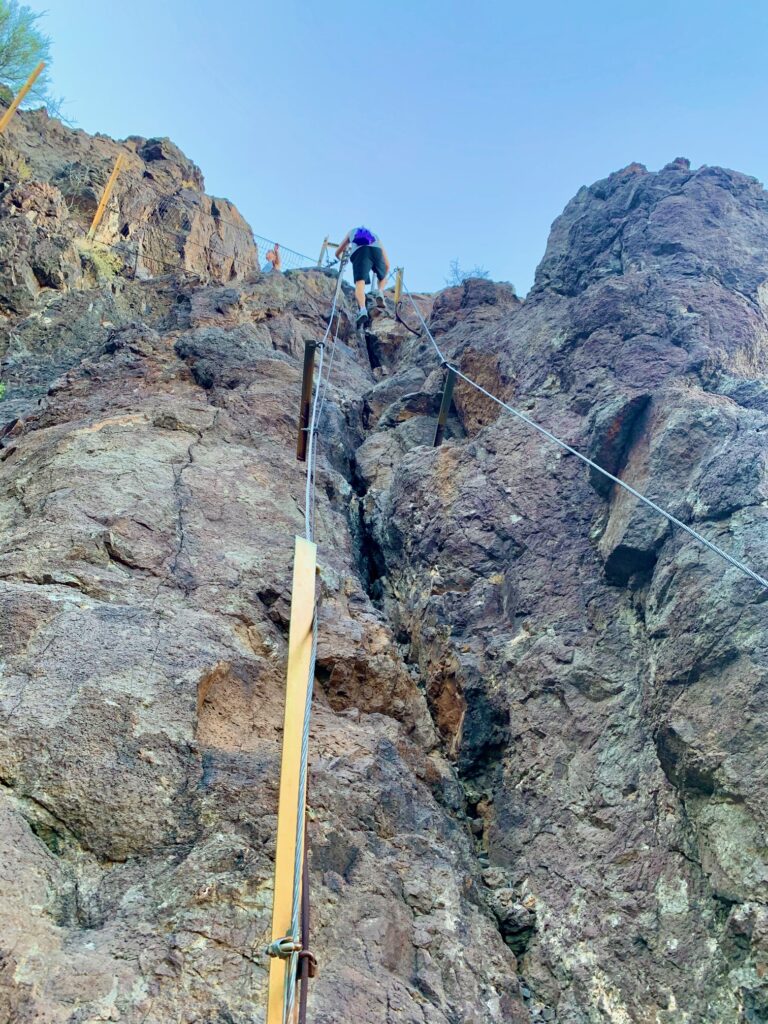
Vertical Climbing
The vertical climbing is easily my most favorite part of the hike! Due to my height (5’0″), I struggle with holding the cables for this specific section. Instead, I prefer to rock climb to the top. And if you’re taller than me, you’ll be fine. My younger sister is 5’3″ and had no problem holding onto the cables. Now on the way back, people do tend to struggle with finding the right gripping– myself included. My younger siblings took the approach of sitting at the top and working their way down. I prefer to climb down the same way that I climb up, through rock climbing.


The Final Ascent: Walk the Plank
We’re in the final stretch! This is another section where people can be intimidated. But, I think if you did the vertical climb, then you can walk the plank. Be sure to grasp the cables and take your time so that you don’t slip.


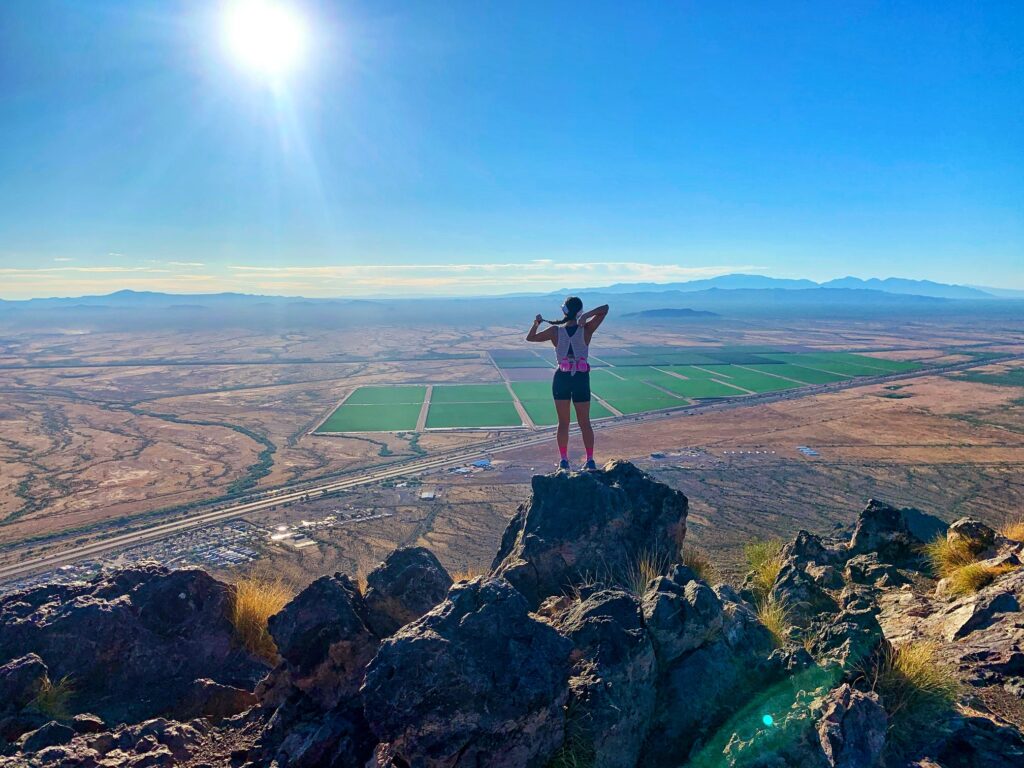
The 3,374-Foot Summit
Congratulations on hiking all the way to the summit!! Enjoy the 360-views of the Sonoran Desert and take your photos. This is a great spot to hydrate with more water, and even replenish your energy with a snack like an orange or protein bar. Don’t forget to take your trash with you!


Things to Know
If this is your first time venturing out to Picacho Peak State Park (or hiking in Arizona), I made a list of some things that you should know. For starters, generously hydrate yourself the day before and the morning of. If it’s cloudy, still lather on that sunscreen.
How to Dress
Much of this hike involves climbing and holding onto rocks or cables. Through certain areas, I’ve had friends and family who had to slide down for steep parts. In my list, I included my recommended attire and the reasoning:
- Fitted or longer shorts: in case you need to slide down
- Breathable sports bra and tanks: prevents overheating
- Visor: unlike hats, visors don’t trap the heat to your head
- Sunglasses: keeps your eyes protected
- High-rise socks: prevents grass, rock and dirt from getting trapped
- Shoes with a grip: hiking shoes are not required, I usually wear my Asics
What to Bring
At only 4 miles, Hunter Trail is a relatively short hike. But, with the incline and climb, you should expect this to take you longer than flatter hikes. Again, I included my reasoning with each recommended item.
- 2 liters of water: plan for more water if you’re starting in the late morning
- Snacks: fruit, trail mix, protein bars
- Gloves: if you have sensitive hands or hike later in the day
- Disposable mask: if the trails are heavily populated then it is recommended to wear masks. Nobody was on the trail when we started or finished so we didn’t have to worry about the masks. Carry one with you just in case.
- $7 to pay for your park admission
When to Hike
While I prefer to start my hikes at the start of sunrise, I understand not everyone is an early bird. If this is your case, don’t expect to hike during the summer or late spring. The day temperatures during those seasons can easily exceed over 100 degrees. If you would rather hike around 10am, as opposed to 5:00am then I recommend hiking between late fall to early spring.
Duration of Hike
A few factors determine the amount of time it will take to hike Hunter Trail. I’ve done this hike where the duration spanned from 2.5 – 5 hours. The main reason why I recommend hiking earlier is so that your time is shorter. If you have to wait for people to pass, then naturally it will take more time. Below is how long it took my siblings and I to leisurely hike:
- 5:30am Began hike at the trailhead of Barrett Loop
- 6:07am Reached the saddle and first major set of cables
- 6:58am Arrived to the summit
- 7:08am Began descent
- 8:10am Back at car
How to Get There
With Picacho Peak State Park positioned along the I-10, it’s fairly easy to travel to the park from Tucson (30-40 minutes) or Phoenix (60-70 minutes). From either direction, you will take exit 219 for Picacho Peak Rd. The signage to the park is visibly marked and easy to locate.
After you drive past the visitor center*, you will take the first left to Barrett Loop. I included a link to the park’s map, in case you’d like to familiarize yourself. But even if you don’t have time to view the map (or forget), the road is well-marked and easy to navigate.
Depending on what time you arrive, you can park closer to the trailhead or down the street on the loop. You will see a sign marked “Hunter Trail,” and from there, your 4-mile hike begins!
*Note: It is $7 per vehicle (up to four people), and $3 per additional person. Since we arrived before the visitor center was open, we just paid on our way out.
If you have any questions, please feel free to reach out to me on Instagram, @HappilyPinkBlog. I hope you will enjoy this hike as much as I do!